JavaWeb
Tomcat
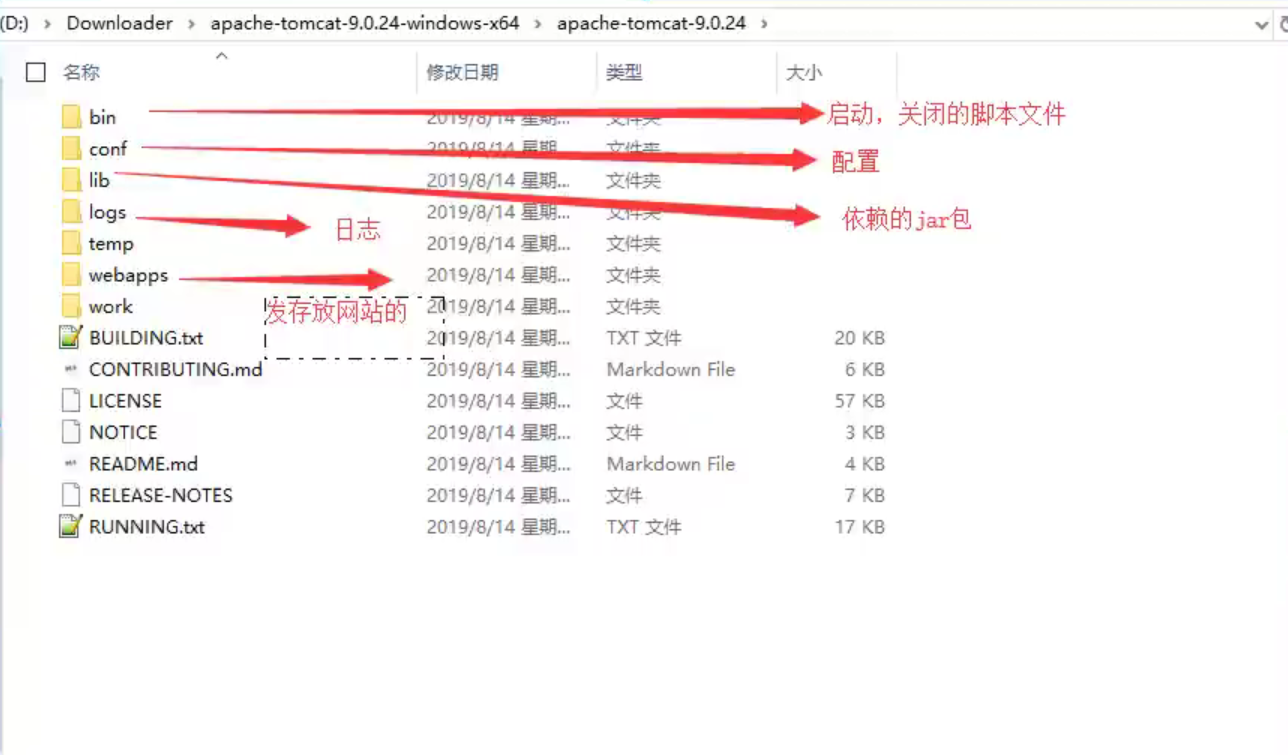
目录结构
根目录
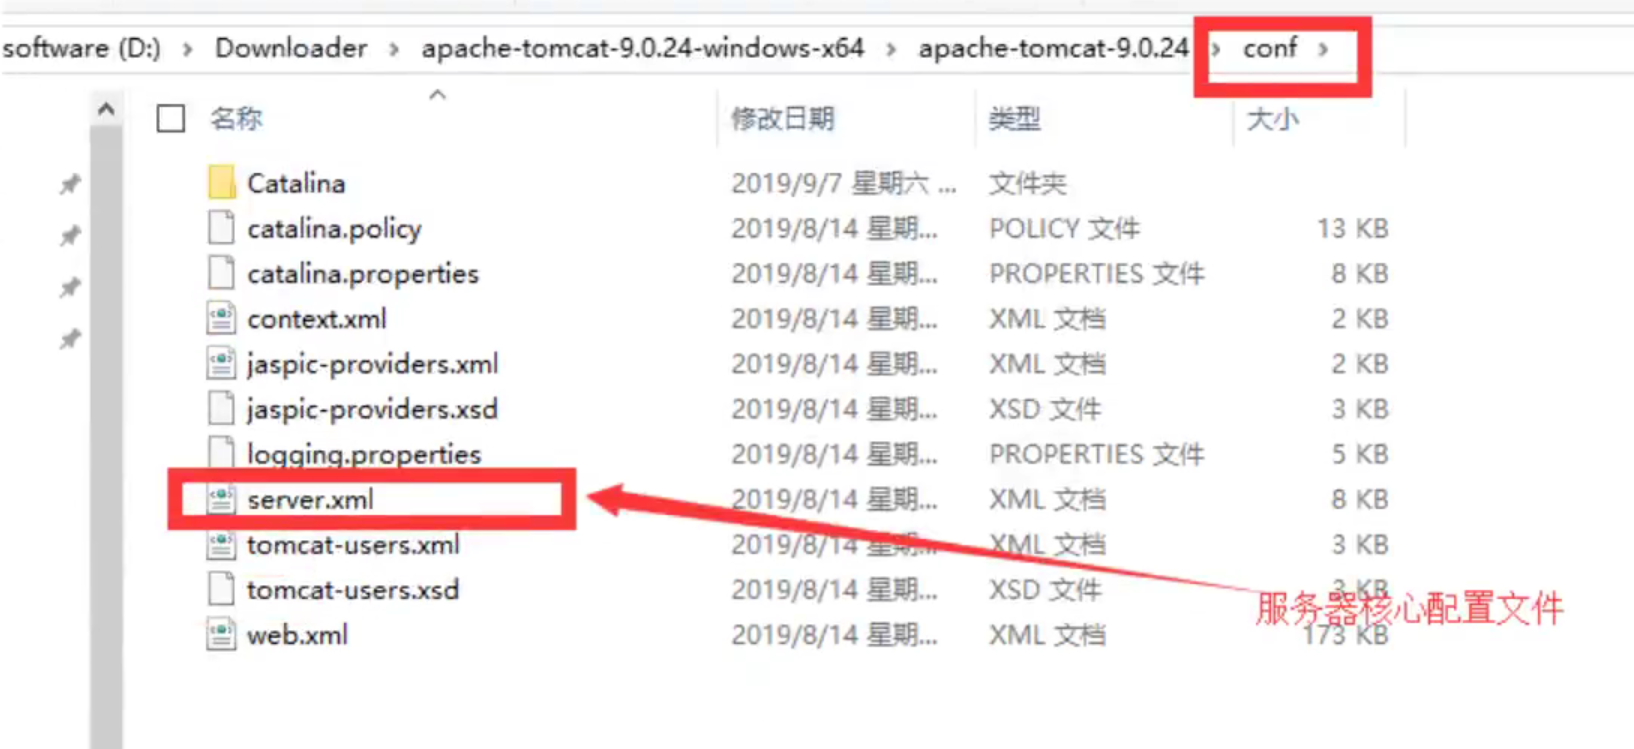
conf 目录
server.xml
配置端口号:
配置地址:
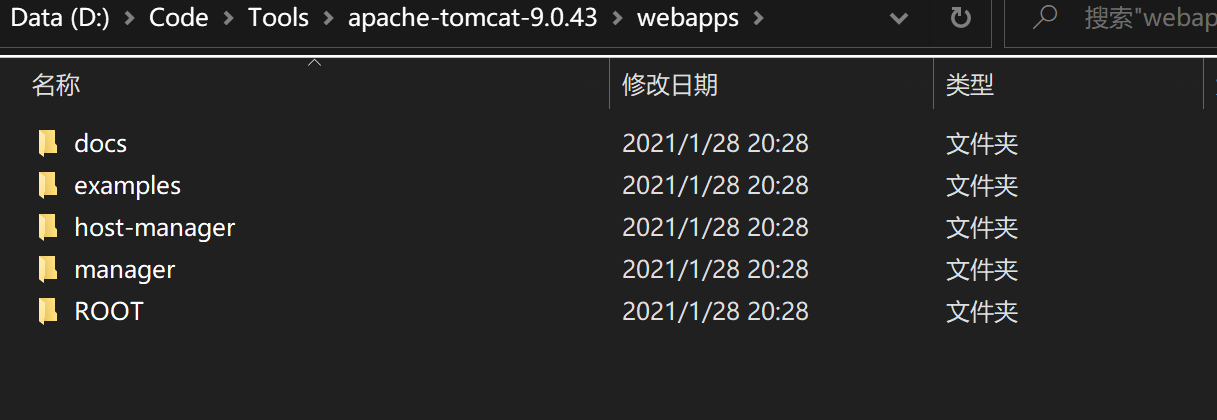
webapps目录
网页页面文件存放目录,可以通过server.xml更改目录名称。
每个目录对应一个app,访问localhost:8080默认进入ROOT下的index.jsp文件
目录结构 :
1
2
3
4
5
6
7
8
9
10
11
12
13
14
--webapps : tomcat服务器的web目录static
MAVEN
配置
环境变量配置
MAVEN_HOME:D:\Code\Env\Java\apache-maven-3.6.3
M2_HOME:D:\Code\Env\Java\apache-maven-3.6.3\bin
PATH:%MAVEN_HOME%\bin
镜像配置
作用:加速国内下载
在maven目录下/conf/setting.xml中配置
1 2 3 4 5 6 7 8 9 10 11 12 13 14 15 16 17 18 19 20 <mirrors > <mirror > <id > alimaven</id > <name > aliyun maven</name > <url > http://maven.aliyun.com/nexus/content/groups/public/</url > <mirrorOf > central</mirrorOf > </mirror > </mirrors >
本地仓库配置
1 <localRepository > D:/Code/Env/Java/apache-maven-3.6.3/maven-repo</localRepository >
IDEA中配置
新建MAVEN项目/模块,选择相关路径
模块的maven配置文件:pom.xml
1 2 3 4 5 6 7 8 9 10 11 12 13 14 15 16 17 18 19 <dependencies > <dependency > <groupId > junit</groupId > <artifactId > junit</artifactId > <version > 4.11</version > </dependency > <dependency > <groupId > javax.servlet</groupId > <artifactId > javax.servlet-api</artifactId > <version > 4.0.1</version > </dependency > <dependency > <groupId > javax.servlet.jsp</groupId > <artifactId > jsp-api</artifactId > <version > 2.1</version > </dependency > </dependencies >
Servlet
编写servlet
1
2
3
4
5
6
7
8
9
10
11
12
13
14
15
16
17
18
19
20
21
22
23
24
25
package com.i.hello;import javax.servlet.ServletException;import javax.servlet.http.HttpServlet;import javax.servlet.http.HttpServletRequest;import javax.servlet.http.HttpServletResponse;import java.io.IOException;import java.io.PrintWriter;public class hello extends HttpServlet {@Override protected void doGet (HttpServletRequest req, HttpServletResponse resp) throws ServletException, IOException {"utf-8" ); PrintWriter writer = resp.getWriter(); "<h1>hello servlet!</h1>" );"do Get!" );@Override protected void doPost (HttpServletRequest req, HttpServletResponse resp) throws ServletException, IOException {
配置路由映射
配置web.xml文件
1 2 3 4 5 6 7 8 9 10 11 12 13 14 15 16 17 <web-app > <display-name > Archetype Created Web Application</display-name > <servlet > <servlet-name > hello</servlet-name > <servlet-class > com.i.hello.hello</servlet-class > </servlet > <servlet-mapping > <servlet-name > hello</servlet-name > <url-pattern > /hello</url-pattern > </servlet-mapping > </web-app >
Mapping
映射路径配置在对应app下web.xml下配置
需要配置servlet对应的类和对应的URL
一个Servlet指定一个映射路径
1 2 3 4 5 6 7 8 9 10 <servlet > <servlet-name > hello</servlet-name > <servlet-class > com.i.hello.hello</servlet-class > </servlet > <servlet-mapping > <servlet-name > hello</servlet-name > <url-pattern > /hello</url-pattern > </servlet-mapping >
一个Servlet指定多个映射路径
1 2 3 4 5 6 7 8 9 10 11 12 13 14 15 16 17 18 19 <servlet > <servlet-name > hello</servlet-name > <servlet-class > com.i.hello.hello</servlet-class > </servlet > <servlet-mapping > <servlet-name > hello</servlet-name > <url-pattern > /hello</url-pattern > </servlet-mapping > <servlet-mapping > <servlet-name > hello</servlet-name > <url-pattern > /hello1</url-pattern > </servlet-mapping > <servlet-mapping > <servlet-name > hello</servlet-name > <url-pattern > /hello2</url-pattern > </servlet-mapping >
一个Servlet指定通用映射路径
访问所有未显式指定的域名时都会访问/*URL映射的Servlet
但访问/hello时会正常跳转至hello指向的内容
1 2 3 4 5 6 7 8 9 <servlet > <servlet-name > idnex</servlet-name > <servlet-class > com.i.hello.Index</servlet-class > </servlet > <servlet-mapping > <servlet-name > index</servlet-name > <url-pattern > /*</url-pattern > </servlet-mapping >
1 2 3 4 5 6 7 8 9 10 11 12 13 14 15 16 17 18 19 <servlet > <servlet-name > hello</servlet-name > <servlet-class > com.i.hello.hello</servlet-class > </servlet > <servlet > <servlet-name > error</servlet-name > <servlet-class > com.i.hello.ErrorServlet</servlet-class > </servlet > <servlet-mapping > <servlet-name > hello</servlet-name > <url-pattern > /hello</url-pattern > </servlet-mapping > <servlet-mapping > <servlet-name > error</servlet-name > <url-pattern > /error/*</url-pattern > </servlet-mapping >
指定url的一些后缀或前缀
1 2 3 4 <servlet-mapping > <servlet-name > hello</servlet-name > <url-pattern > *.hello</url-pattern > </servlet-mapping >
ServletContext
是Tomcat中的一个全局对象,是唯一的,即是个单例,所有应用共享。可以用于网页间传值。
共享数据
1 2 3 4 5 6 7 8 9 10 11 12 13 14 @Override protected void doGet (HttpServletRequest req, HttpServletResponse resp) throws ServletException, IOException {"utf-8" );"content-type" ,"text/html;charset=UTF-8" );ServletContext context = this .getServletContext();"name" ,"Xiaoi" );PrintWriter writer = resp.getWriter();"<h1>用户名已设置</h1>" );"do Get!" );
1 2 3 4 5 6 7 8 9 10 11 12 13 14 15 16 @Override protected void doGet (HttpServletRequest req, HttpServletResponse resp) throws ServletException, IOException {"utf-8" );"content-type" ,"text/html;charset=UTF-8" );ServletContext context = this .getServletContext();String contextAttribute = (String) context.getAttribute("name" );PrintWriter writer = resp.getWriter();"<h1>用户名</h1>" );"do Get!" );


